
Introduction
Welcome to this tutorial on integrating Web3Forms in a React.js application!
This guide will show you how to set up Web3Forms in your React projects, so you can handle form submissions without needing a backend server.
Check out the video guide below and the UI preview here.
Prerequisites
Before starting, make sure you have:
- Node.js and npm installed
- Basic knowledge of React and JavaScript
- A Web3Forms access key (sign up at Web3Forms.com)
Setup Instructions
1. Clone the Repository
git clone https://github.com/whistlink/web-3-forms-tut.git
cd web-3-forms-tut
2. Get Your Access Key from Web3Forms
Now that you have the project cloned, you'll need an access key to connect your form to Web3Forms.
Head over to Web3Forms.com and sign up by clicking the Create your Form button.
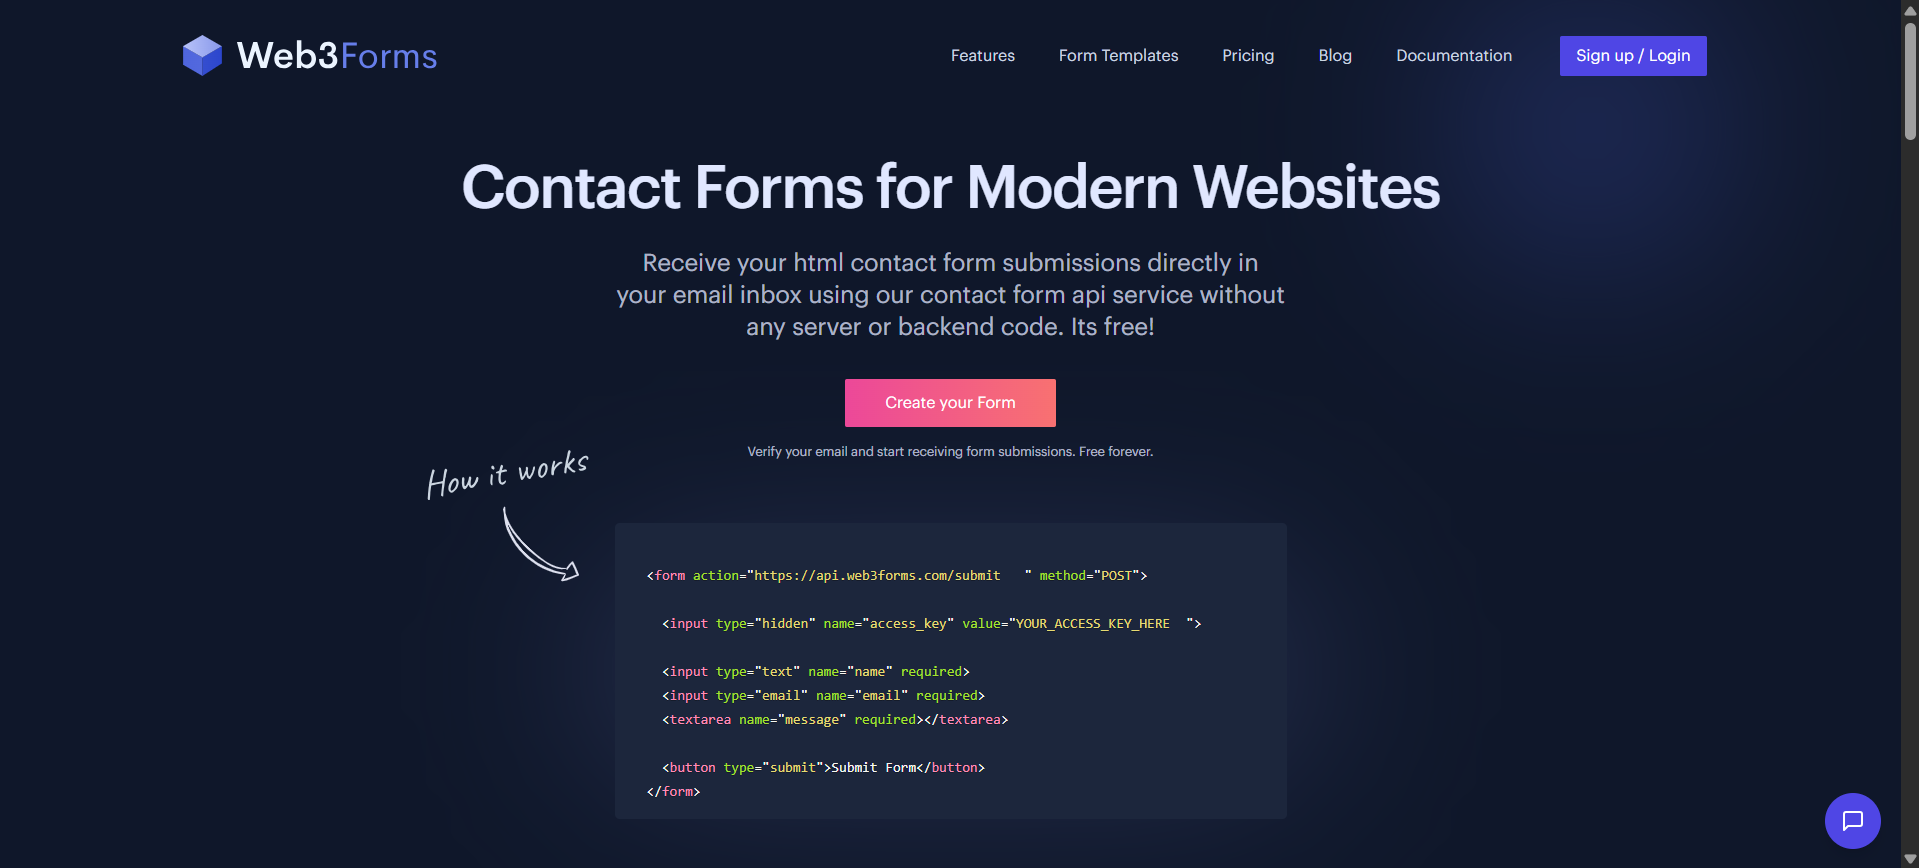
Sign Up Page on Web3Forms
You'll be redirected to a signup page where you can sign up with your email and password or log in via Google.
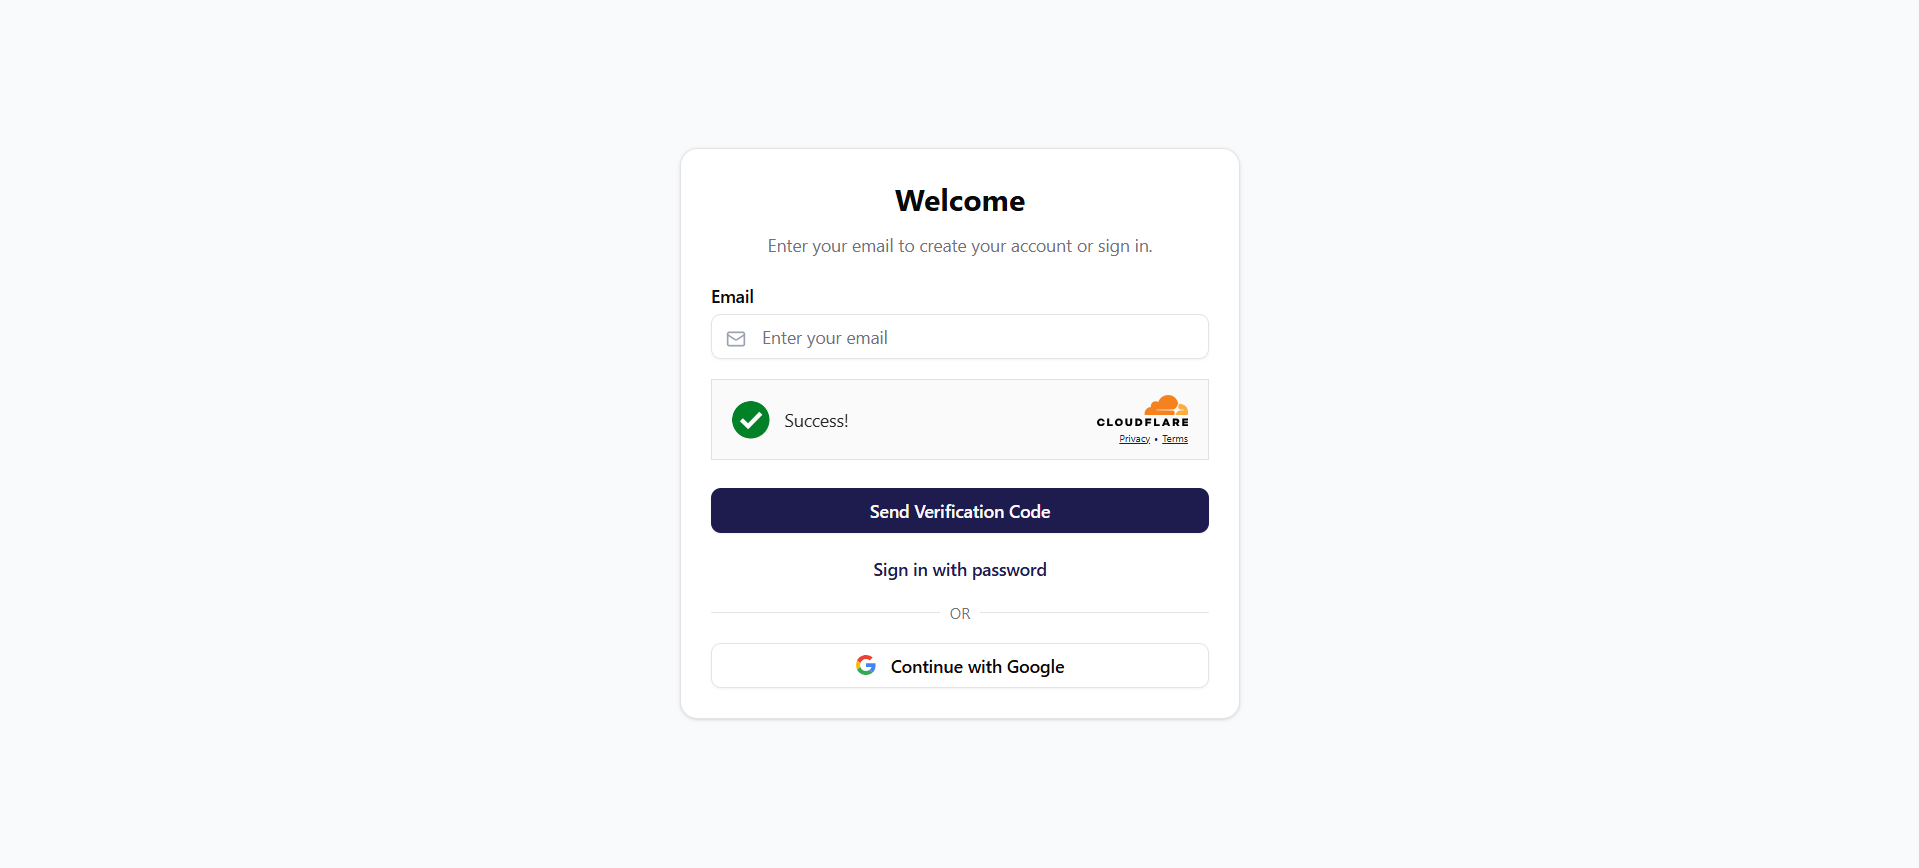
Login Page on Web3Forms
Once signed up, you'll be taken to your dashboard where you can Create New Form and be provided with an access key.
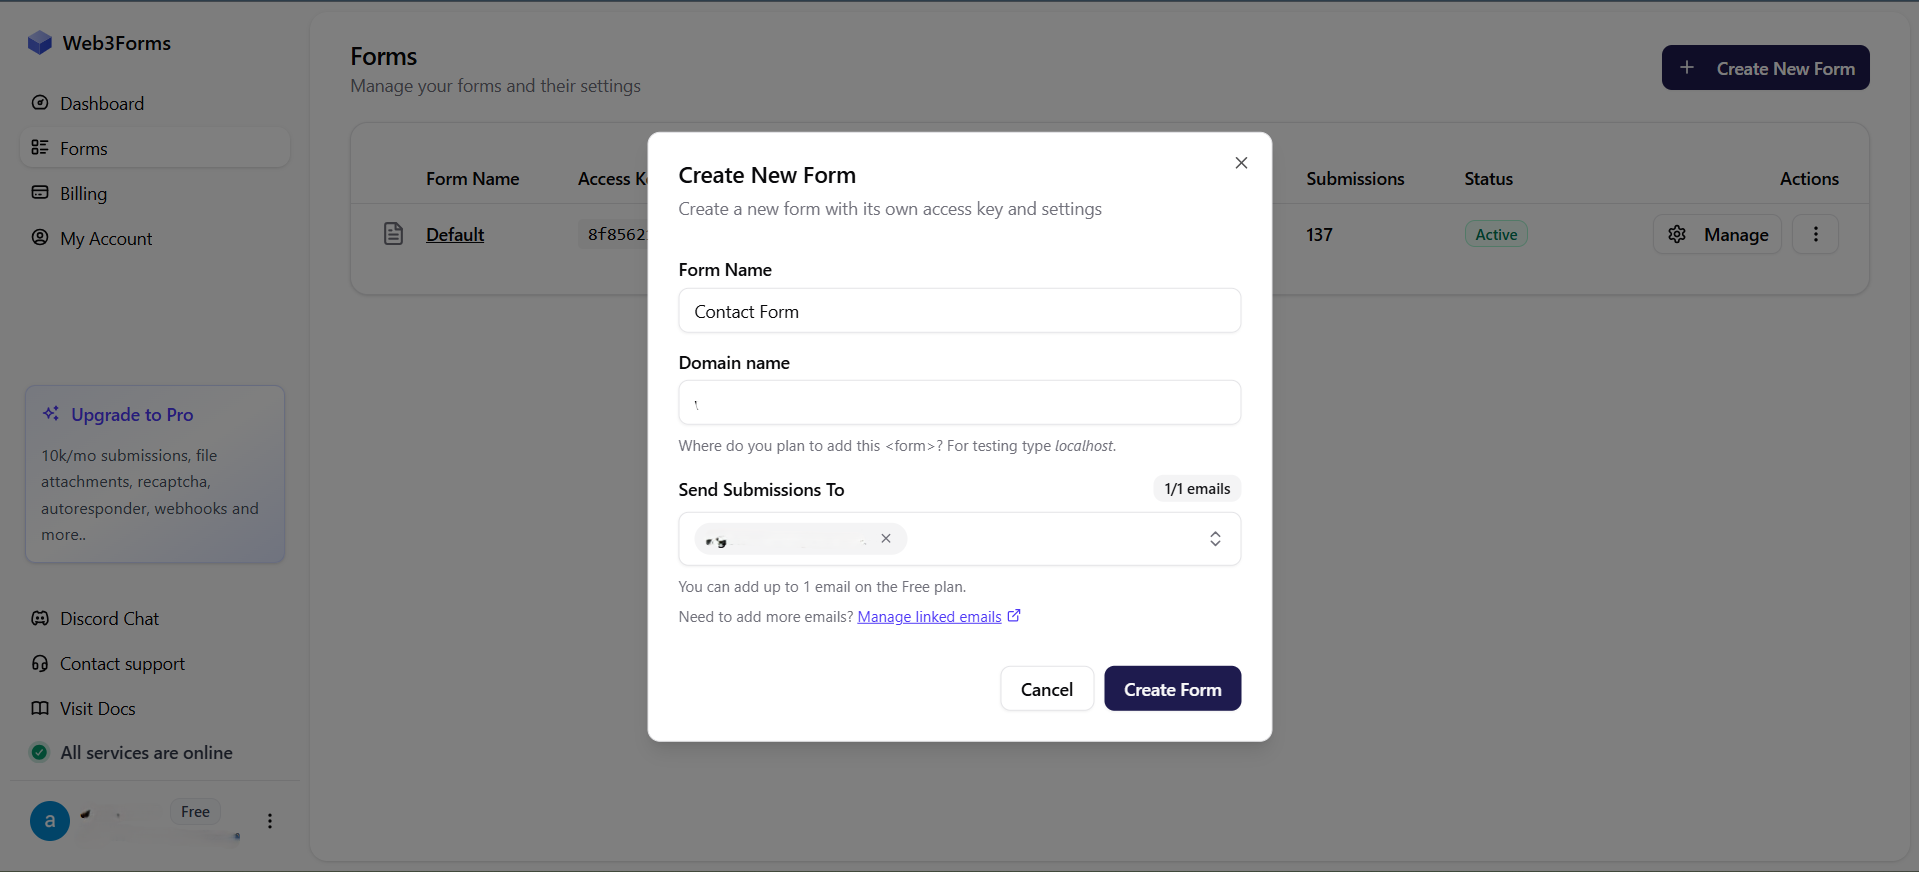
Dashboard on Web3Forms
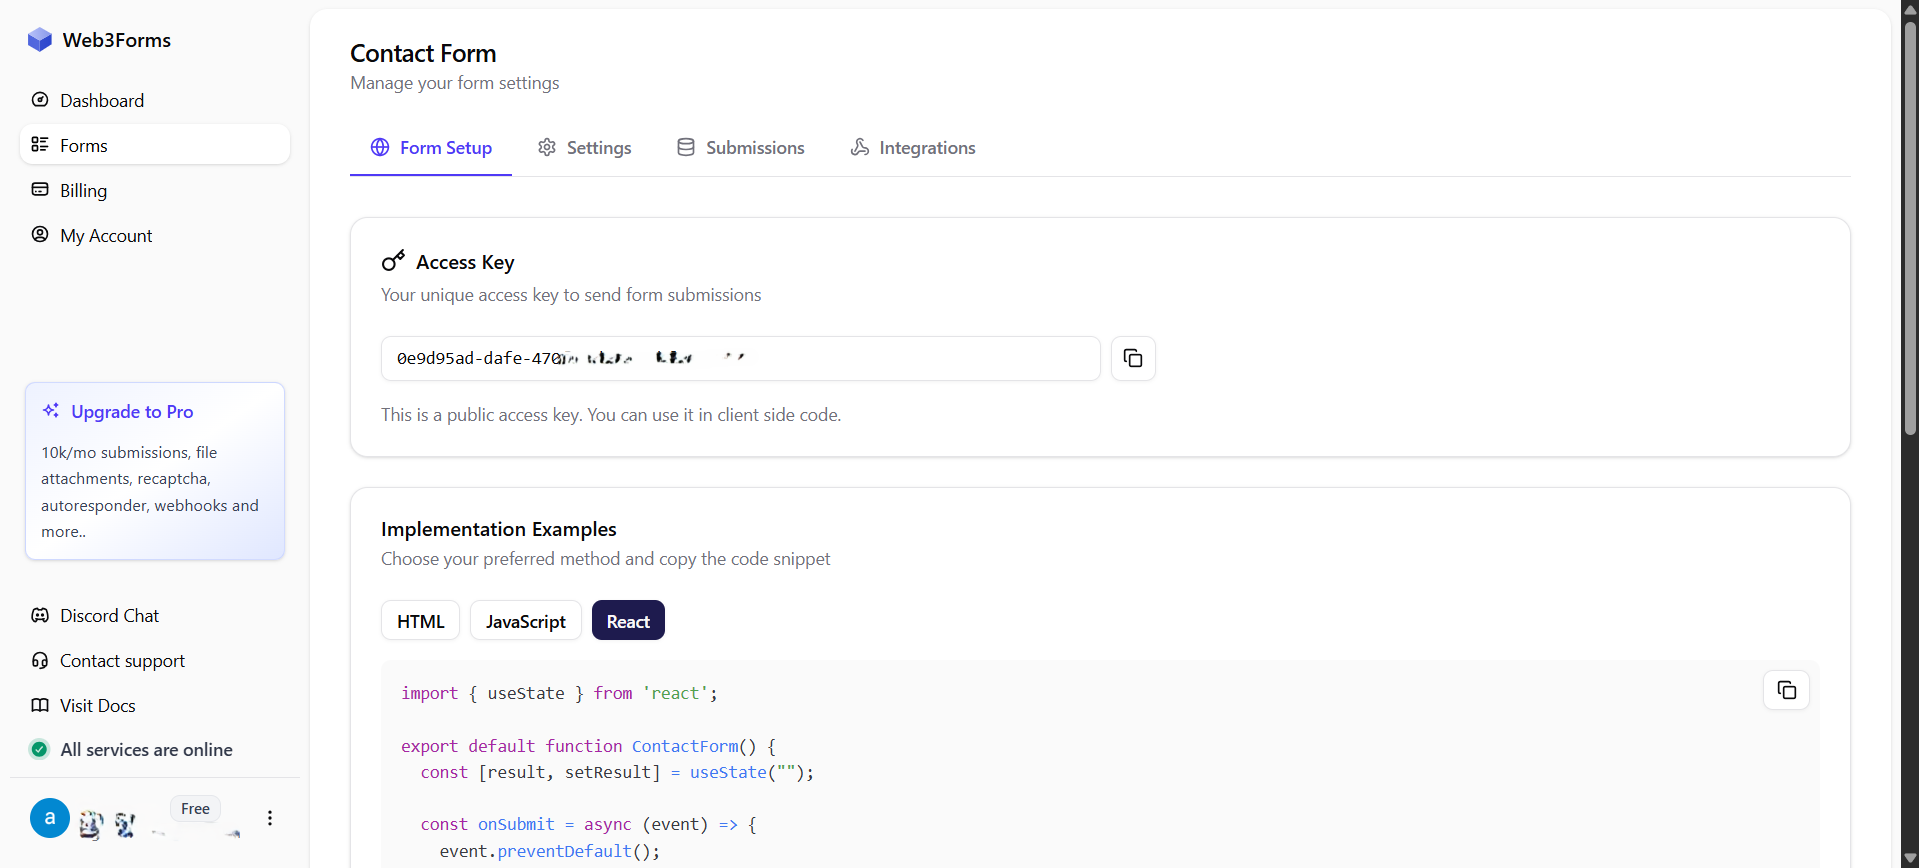
Getting the Access Key
3. Configure the .env File
Create a .env file in the project root and add your Web3Forms access key:
VITE_WEB_ACCESS_TOKEN="YOUR_ACCESS_KEY_HERE"Note: This key is safe to use on the client side. For additional security, consider enabling Trusted Domains in your Web3Forms dashboard (available on the Pro plan).
4. Install Dependencies & Start the Project
npm install
npm run dev
This will install all necessary dependencies and start the development server.
5. Open in Your Browser
Visit the development server in your preferred browser:
Or preview the UI using the link below:
https://whistlink.github.io/web-3-forms-tut/
Understanding the Form Implementation
Here's the key code that makes Web3Forms work in our React component:
const onSubmit = async (event) => {
	event.preventDefault();

	// Collect form data
	const formData = new FormData(event.target);

	// Append access key
	formData.append('access_key', import.meta.env.VITE_WEB_ACCESS_TOKEN);

	// Send form data to Web3Forms
	const response = await fetch('https://api.web3forms.com/submit', {
		method: 'POST',
		body: formData
	});

	// Handle response
	const data = await response.json();

	if (data.success) {
		// Reset form
		console.log('Success', data);
		event.target.reset();
	} else {
		// Handle error
		console.log('Error', data);
	}
};
Common Issues & Solutions
- Form not submitting? Double-check your access key in the
.envfile matches the one from your Web3Forms dashboard - Not receiving emails? Verify your email address in the Web3Forms dashboard
- Environment variable not working? Restart your dev server after adding or modifying the
.envfile
Next Steps
Now that you have Web3Forms integrated, you can:
- Customize the form fields to match your specific needs
- Add validation using libraries like React Hook Form or Formik
- Style the form with your preferred CSS framework
- Enable additional features like file uploads or advanced spam protection in your Web3Forms dashboard
Additional Resources
You now have a working setup for Web3Forms in React. Replace the repo and access key with your own project details when ready. Happy coding!